Wednesday, August 6, 2014

Shine Bright Fingerless Gloves

Shine Bright Fingerless Gloves

You know what? I'm not even gonna intro these fingerless gloves. And you know why? Because Rihanna can definitely do it better -- not only was her song "Diamonds" the inspiration for the name of the Shine Bright Fingerless Gloves, but her video has it all; finger tattoos, wild horses, and burning roses. It's almost like my eleven-year-old self directed this video, except I would have included more crying in the rain. Ah, to be young again...


Sizes: smaller (for a hand roughly 7 1/2" - 8" in circumference at the base of the thumb) and larger (for a hand roughly 8 1/2" - 9" in circumference at the base of the thumb) - directions for larger size will follow those for the smaller size in parentheses

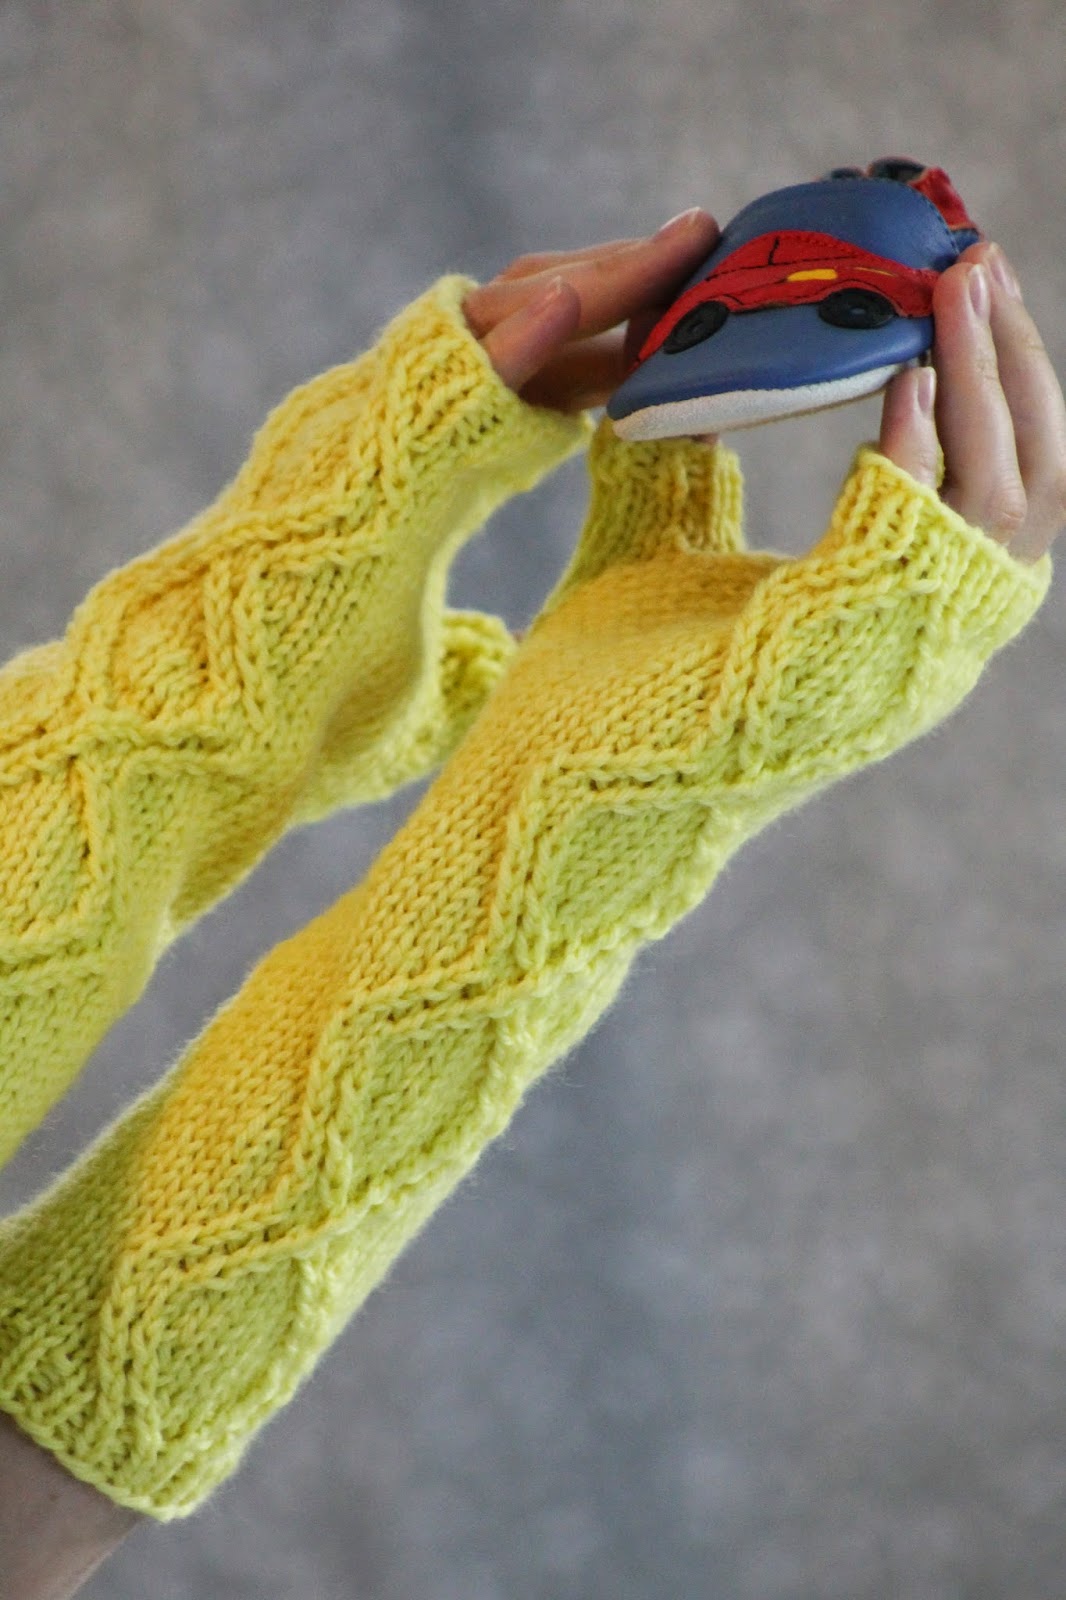
A bit closer look at the pattern.
Yarn: Cascade Yarns Cascade 220 (100% Peruvian Highland Wool; 220 yards [200 meters]/100 grams); #9496 Buttercup – one skein (both sizes)

Needles: one set of double-pointed needles in size US 7, one set of double-pointed needles in size US 5

Notions: Tapestry needle

Gauge: 20 stitches = 4 inches on size 7 needles

And now that we've gotten that out of our system, let's make some gloves! So, using your size 5 needles, cast on 38 stitches (44 stitches) and divide amongst your needles as follows: place 13 stitches on your first needle, 12 on your second, and 13 on your third (place 13 stitches on your first needle, 18 on your second, and 13 on your third). Join in round. Then, knit the following set-up row 4 times (as you can see, it's different for the two sizes, but I've also used parentheses in the instructions for the smaller size. That's to indicate that a direction is repeated, and will occur again in the notation. Just remember that the alternate larger instructions will always occur after the smaller instructions in each row, and not in the middle of them):

Set-up Row:  k1, (p1, k1) 9 times, (k1, p1) 9 times, k1 (larger size: (p1, k1) 11 times, (k1, p1) 11 times)

Wednesday, July 30, 2014

Sunny Stripes Hat

Sunny Stripes Hat
... plus a very wiggly child...

Sometimes, I feel as if I'm trapped in an endless hat knitting cycle with my children; as soon as I finish a hat for one of them, the other one immediately gets jealous and demands yet another hat. Which is how the Sunny Stripes Hat came to be, in all of its stripe-y glory. And it's not just the stripes that make it fun; it's also the slip stitch accentuated finish, which make it look almost like the celestial body it's named for. Plus, it comes in all sizes, so you can knit one for every member of your family (pets excluded)!

Sizes: Small (Medium; Large) (Small is 7.5" from crown to bottom, and will fit up to a 20" circumference head - think pre-schooler to young elementary, unless the kid's got a huge noggin like my children; Medium is 8.5" from crown to bottom, and will fit up to a 22" circumference head - think older kid to teen to smaller-headed adult (this would be my size); and Large is 9.5" from crown to bottom, and will fit up to a 24" circumference head - perfect for my husband)
The finishing. Slipped stitches
give it an extra sunny feel.

Yarn: Cascade Yarns Cascade 220 (100% Peruvian Highland Wool; 220 yards [200 meters]/100 grams); #8906 Blue Topaz - one skein (color A), Cascade Yarns Cascade 220 Heathers (100% Peruvian Highland Wool; 220 yards [200 meters]/100 grams); #2439 Gelato - one skein (color B)

Needles: One 16" circular needle in size US 5, one 16" circular needle in size US 7, one set of double pointed needles (dpns), also in size US 7

Notions: Tapestry needle, stitch marker

Gauge: 20 stitches = 4 inches

Before we begin, a quick note about sizing; as you may have noticed, I recommend medium for anyone between, like, 5 and adult. This is simply because most head growth occurs in the first couple of years, and, for instance, my five-year-old's head is only 1" smaller than mine in circumference and 1/2" smaller than mine crown-to-base-of-ear. Which means, yes, we would both wear the medium. Of course, not everyone's children have such monstrous heads, and the small size could fit a much older child. Finally, if you're knitting this hat as a gift and have no idea about sizing, I recommend large for most men, medium for most women and teens, and small for most everyone between 2 and 8 or so. Go up a size if they seem large-headed, or add 1/2" to 1" to the length. And now that we're all thoroughly confused, let's get started!

Wednesday, July 23, 2014

Colorblocked V Cowl

Colorblocked V Cowl

Guess what, dudes?!?! Today marks the publication of my 100th pattern (this one, of course), and to celebrate, I'm posting something I love so much that I'm even going to keep it. And not only is the Colorblocked V Cowl next-level cute, but it's also an excellent choice for your leftover yarns (in fact, I made it with the yarn remaining after I knit the Arrowhead Lace Cowl II and the Striped for Spring Cowl). So let's get right to it!

Update (10/23/14): As of today, you can also find back-and-forth instructions for this piece following the regular instructions (so that means no circular knitting at the top)!

Yarn: Schachenmayr smc Cotton Bamboo (75% Cotton, 50% Bamboo; 131 yards [120 meters]/50 grams); #64 Aqua - one skein (color A), Cascade Yarns Ultra Pima (100% Pima Cotton; 220 yards [200 meters]/100 grams); #3777 African Violet - 1 skein (color B); #3705 Heathered Pansy - 1 skein (Color C)

Here you can see the detail a few slipped
stitches adds
Needles: One 16" or 20" circular needle in size 6

Notions: Tapestry needle, three stitch markers

Gauge: 22 stitches = 4 inches

So let's get started! Using your color A yarn, cast on 112 stitches, place marker, and join in round (please note that this cowl, when finished, will be just over 20 inches in circumference. This should accommodate most head sizes, since knit stuff stretches and all, but if you want instructions for a slightly larger piece, just hit me up. It's still ballstothewallsknits@gmail.com). Anyway, then you'll knit the following row to place your extra stitch markers:

Stitch Marker Placement Row: k1, (p1, k1) 27 times, place marker, p2, place marker, k1, * p1, k1; rep from * to end of round

And now, we'll move on to a seed stitch for the top band of this cowl, like so:

Row 1: p1, * k1, p1 * to first marker, slip marker, p2, slip marker, p1, * k1, p1 * to end of round