Wednesday, March 5, 2014

Little Arrowhead Fingerless Gloves

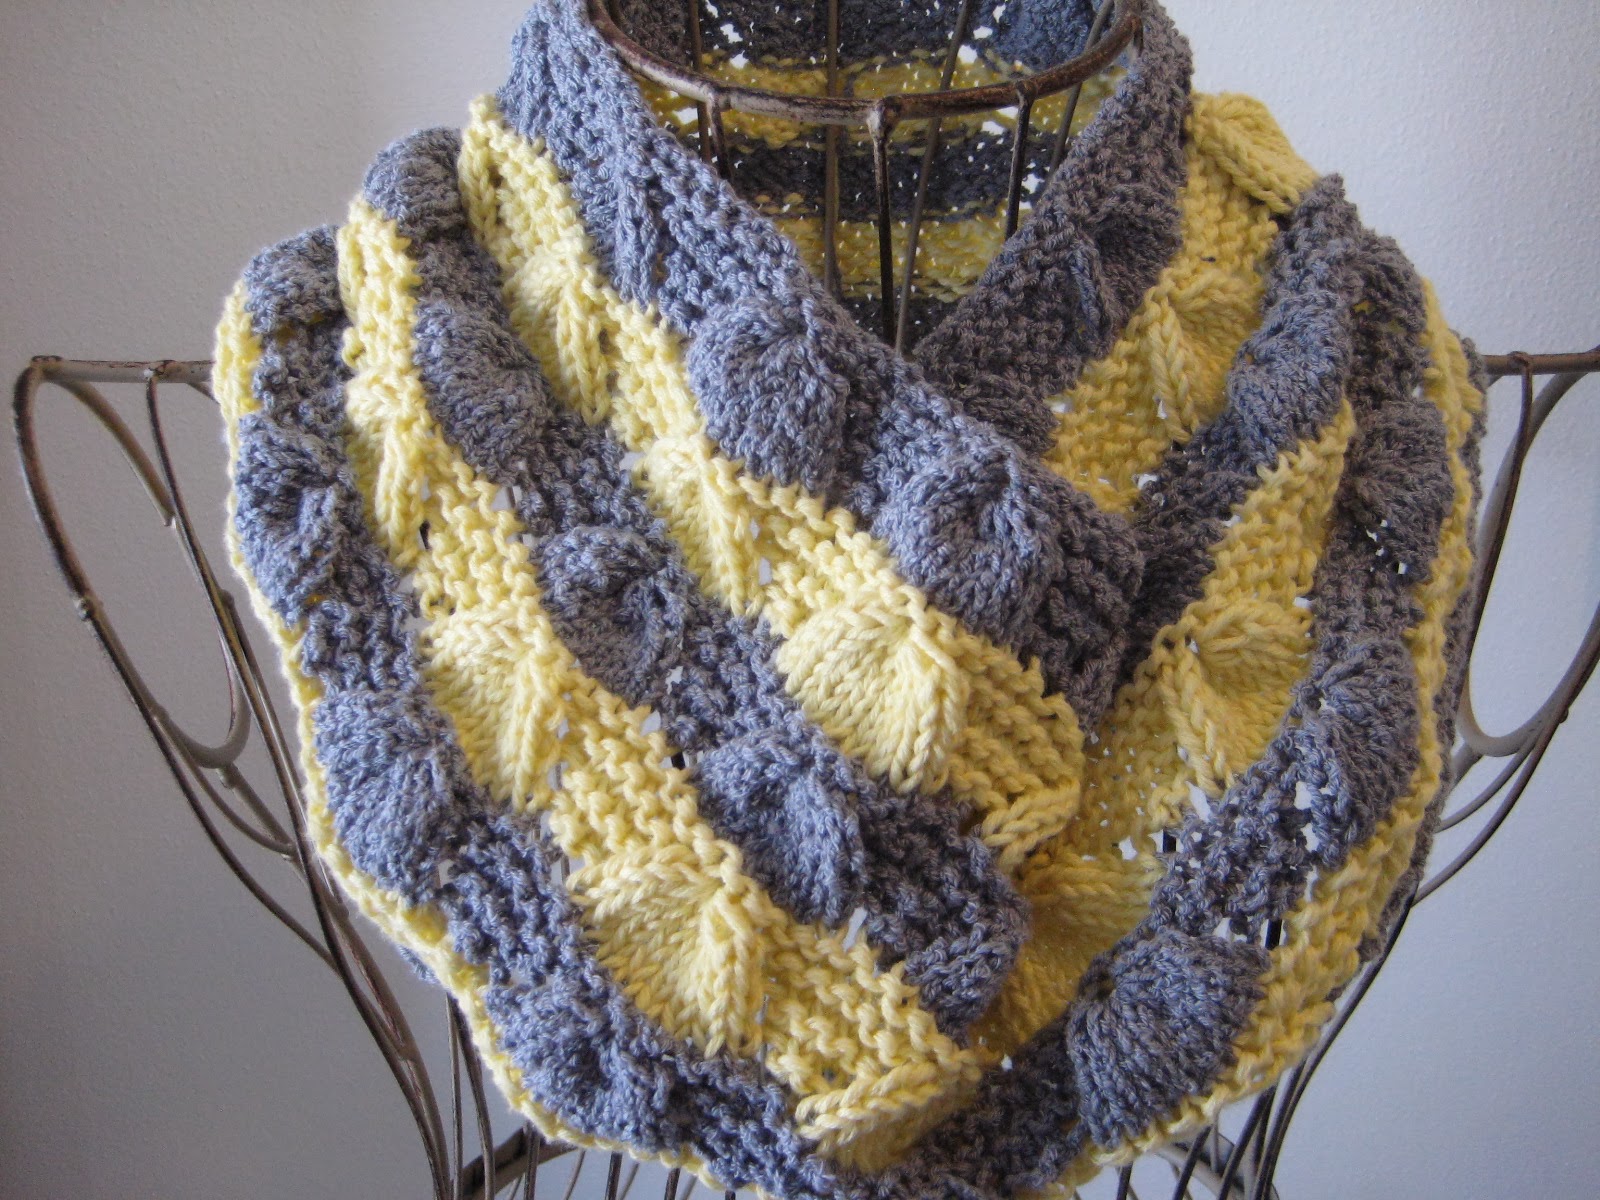
Little Arrowhead Fingerless Gloves
I went with Legos for the photo this time.

As promised, I'm adding more fingerless gloves to the repertoire. And the Little Arrowhead pair has a couple of nice features, including a simple repeating lace pattern and the fact that both gloves can both be knit from the same pattern (so no left hand, right hand mumbo jumbo!). I should note, however, that these gloves are designed with a slightly looser fit in mind (as you can see from the pictures, they're not stretching tight over my hands or anything), and if you want them to be snug, you may want to knit them a size smaller than I give directions for. In fact, if you have itty bitty hands and want really tight gloves, I would even recommend casting on 45 stitches instead of the small size's recommended 54, omitting those 9 stitches from your second dpn. Remember, however, that this will make your cast-on and cast-off edges tight, and you'll have to take extra care to cast on and bind off such that you can still get your hands in these bad boys!
I just realized why I like this color.
It's the same shade we painted the house!

Sizes: smaller (for a hand roughly 7 1/2" - 8" in circumference at the base of the thumb) and larger (for a hand roughly 8 1/2" - 9" in circumference at the base of the thumb) - directions for larger size will follow those for the smaller size in parentheses

Yarn: Schoeller + Stahl Baby Micro (51% Virgin Wool, 49% Acrylic; 106 yards [97.5 meters]/25 grams); #04 Light Blue - two skeins

Needles: One set of double-pointed needles (dpns) in size 3, one set of dpns in size 2

Notions: Tapestry needle

Gauge: 26 stitches = 4 inches

Using your size 2 dpns, cast on 54 stitches loosely (63 stitches) and distribute among your dpns as follows: 18 stitches on your first needle, 18 stitches on your second needle, and 18 stitches on your third needle (for the larger size: 18 stitches on your first needle, 27 stitches on your second needle, and 18 stitches on your third needle). Join in round, and then we'll knit the following ribbing row:

Monday, March 3, 2014

Turquoise V Cowl


Turquoise V Cowl


I knew I had to have this yarn as soon as I saw it; the colors, the feel (it's a bit ropey, but soft), and the general aesthetic of the fiber really appealed to me. But then I struggled a bit more when it came to knitting it up, tearing through who-knows-how-many ideas before settling on this one. And, in short, this one relies on a cabled edge down one side of the cowl and a stitch pattern which adds and drops stitches for a very textured effect. Furthermore, while the pattern below looks complicated, that's mostly just increases and decreases along the edge; the basic stitch pattern remains the same throughout.

The stitch pattern, closer up.
Yarn: Schachnmayr Original Multicolor (100% Cotton; 98 yards [90 meters]/50 grams); color #85 Jade Mix – two skeins

Needles: Straight needles in size 7, cable needle (cn) or double-pointed needle for cabling

Notions: Tapestry needle, stitch marker 


Gauge: 20 stitches = 4 inches

So let's get started! First, let's define some terminology as follows:


front cross (fc): slip 2 stitches to cn and hold in front, p3, k2 from cn

back cross (bc): slip 3 stitches to cn and hold in back, k2, p3 from cn

Now, cast on 14 stitches loosely, and knit the following row: p2, place marker, k4, p4, k4. Then, we’ll repeat a few set-up rows to get the piece started. Or in our pattern notation,

Set-up Rows 1 & 3 (right side): p4, k4, p4, slip marker, knit until one stitch before end of row, yo, k1

Set-up Rows 2 & 4: purl until marker, slip marker, k4, p4, k4 


Friday, February 28, 2014

Lucina Shell Cowl

Lucina Shell Cowl

In my experience, at least half of making a nice pattern is finding the right blend of yarn and design. And with these particular yarns - the grey one is textured, and the yellow one is glossy smooth - I wasn't quite sure if I could pull off a mixed design. But then I found this gathered stitch pattern, which adds stitches on rows 1, 3, and 5 and then pulls them all together in row 7, and I thought that it was just the right combination of whimsy and texture to make the yarn pop.

The pattern. Well, I didn't do a very good job of
straightening it out but I think you get the point...
Yarn: Bristol Yarn Gallery Bradford (97% Pima Cotton, 3% Nylon; 120 yards [110 meters]/50 grams); #112 Mirage (color A) - one skein & Bristol Yarn Gallery Somerset (85% Pima Cotton, 15% Silk; 115 yards [105 meters]/50 grams); #103 Yellow (color B) - one skein

Needles: One 24" circular needle in size 7

Notions: Tapestry needle, three stitch markers or scraps of yarn to mark stitches

Gauge: 18 stitches = 4 inches

Using color A, cast on 130 stitches, place marker, and join in round. Purl 14, place extra marker, and then purl until you have 14 stitches left in round, and place another marker. Purl till the end of the round. And now, let's begin the main pattern, which is Lucina Shell from page 226 of Barbara G. Walker's A Second Treasury of Knitting Patterns, except adapted for the round and stripes (and blended with a slipped stitch pattern). So here goes!

Tuesday, February 25, 2014

American Beauty Hat

American Beauty Hat

It may be spring in most of the country, but in my neck of the woods, we're still in single-digits, driving down roads rutted with ice. Of course, I think that this three-color, slipped stitch hat will transition nicely to warmer temperatures as well, and hopefully now that I've made it for my husband, that's exactly what we'll get. Or at least his ears will stay warm...

Yarn: Schachenmayr smc Juvel (100% New Wool; 116 yards [106 meters]/50 grams); #575 Light Moss - one skein (color A), #2 Medium Grey Heather - one skein (color B), #500 Mottled Bark - one skein (color C)
I couldn't bring myself to do a boring back -
hit me up if you want one, though, and I'll come up
with something.

Needles: One 16" circular needle in size 4, one 16" circular needle in size 7

Notions: Tapestry needle, stitch marker

Gauge: 22 stitches = 4 inches on size 6 needles

Using your size 4 circular needle and your color A yarn, cast on 116 stitches, place marker, and join in round. Knit 1.5" in a * k1, p1 * ribbing, and then switch to your size 7 needle and knit one row. Next, we'll begin the pattern, which is American Beauty Tweed from page 39 of Barbara G. Walker's A Second Treasury of Knitting Patterns, except adapted for the round. So here goes!

Row 1: using color B, * slip 2 with yarn in back, k2; rep from *