|
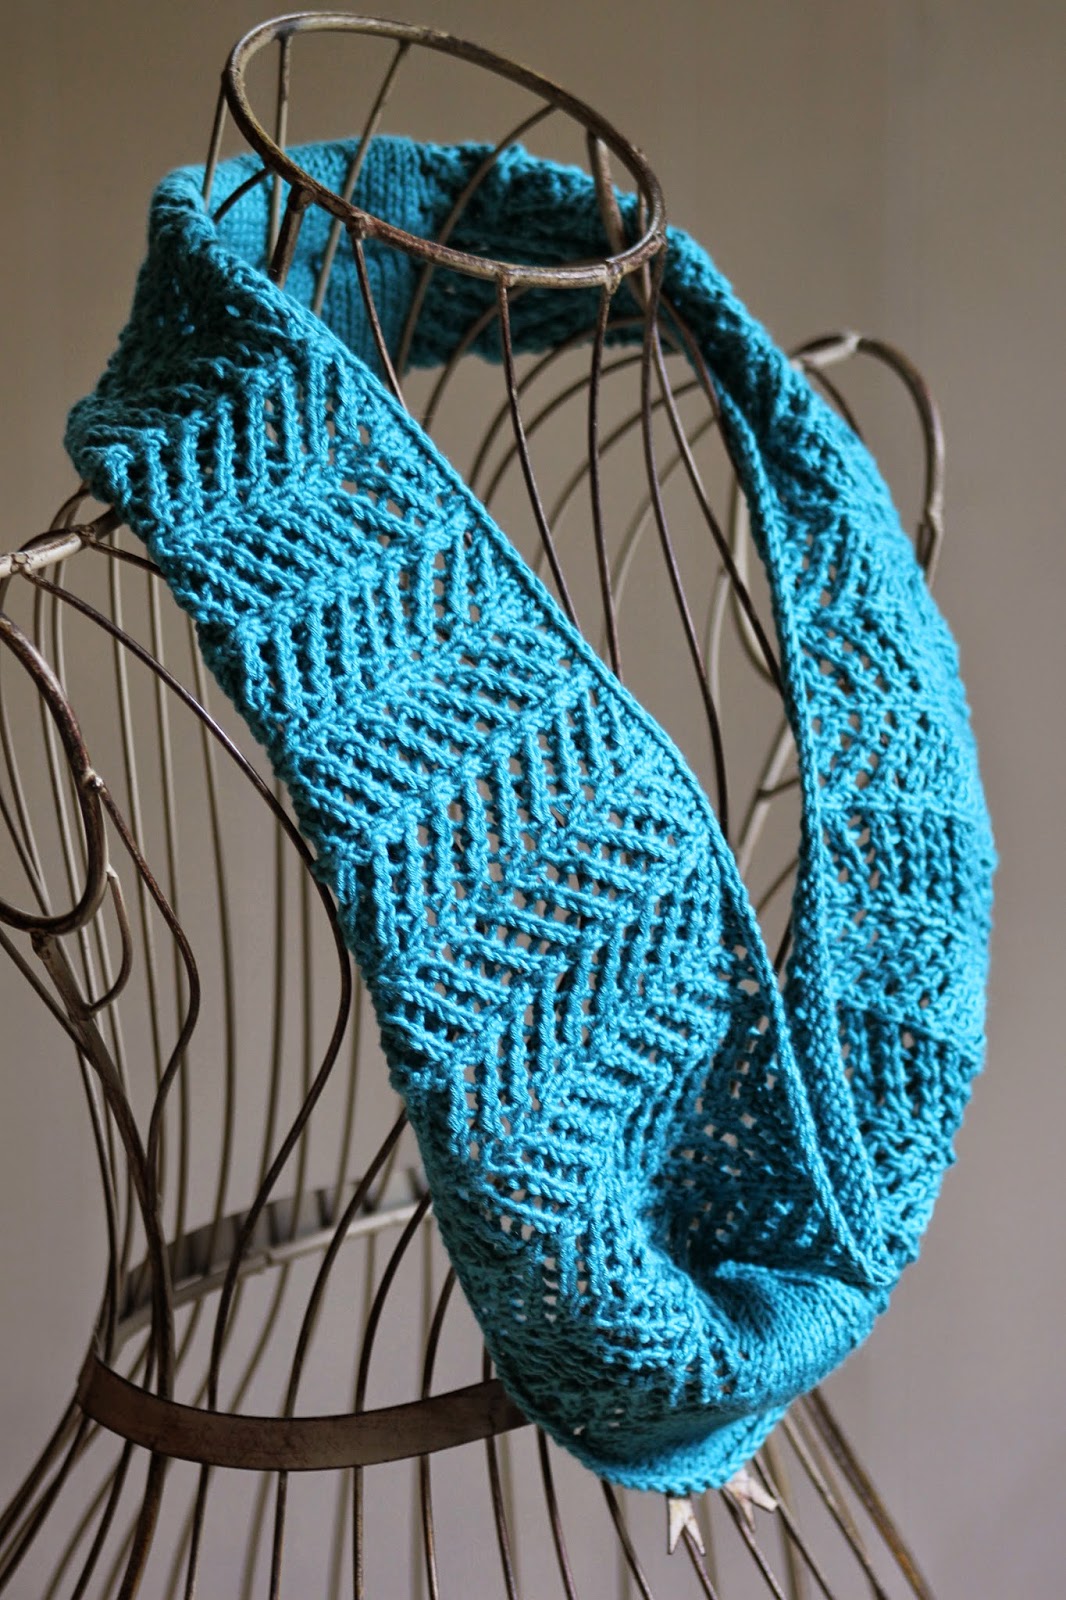
| Zigzag Ribbon Stitch Cowl |
There's only one way to intro this piece, and that's with an extensive discussion of the yarn. I knew I had been eyeing this particular fiber for awhile, but I didn't realize how long it had been until I finally bought it and brought it home. I say that, of course, because as much as I look for this yarn online, I can't find it. By the label alone, in fact, it appears to be the exact same yarn that I used for the Pretty Plum Cowl. But it isn't - it's lighter weight, and a different color. At the end of the day, then, all I can really tell you about this yarn is that it's a cotton bamboo blend that's more of a sport weight (even if the label calls it a dk).
And now that that's out of the way, let's talk about the pattern! Since I knit a lighter-weight yarn on slightly larger needles, the piece gets that nice stretched-stitch look. The subtle stitch pattern is also very suitable for both solids and variegated yarns, and adds nice texture to the piece. Furthermore, although this piece is knit back-and-forth, it's seamless, and is joined by a provisional cast-on and a Kitchener stitch graft. This gives the mesh neck even more delicacy, and really suits the airiness of this cowl!
Yarn: Schachenmayr smc Cotton Bamboo Batik (50% Cotton, 50% Bamboo; 131 yards [120 meters]/50 grams); #95 - one to two skeins (I got by with one)
 |
| Close-up, for your viewing pleasure |
Notions: Tapestry needle
Gauge: 24 stitches = 4 inches on size 4 needles
So let's get started! We're going to begin this piece with a provisional cast-on, instructions for which you can find here. So, using this technique, cast on 20 stitches. Then, knit the following set-up rows:
Set-up Row 1 (right side): knit
Set-up Row 2: purl
And once that's done, we're going to work the following row until the piece measures about 8" long and you've just finished a wrong-side row. So here's how you'll proceed:
Neck Row: k1, * yo, ssk; rep from *, end k1