 |
| Honeycomb Headband |
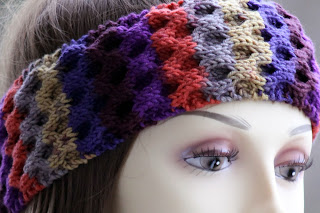
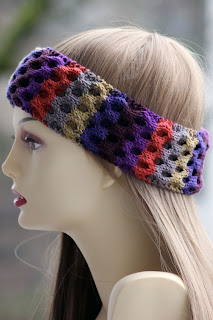
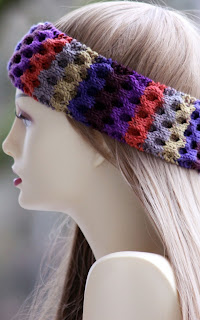
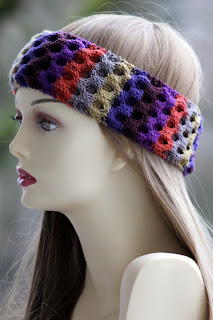
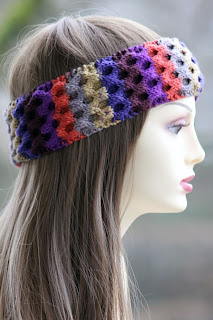
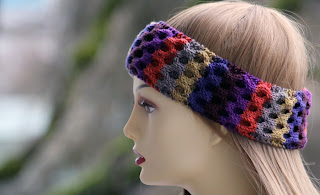
The story behind this pattern is simple: I got a request for another headband pattern and then basically fell in love with this yarn. And while the headband has lots going for it - it's thick enough to keep your earsies warm! It's not too vertically stretchy! It looks cool! - I am especially pleased with the way it turned out in this particular fiber. The variegation lines up perfectly with the stitch pattern for a very tidy result.
Yarn: Debbie Bliss Rialto DK Print (100% Merino Superwash Wool; 114 yards [105 meters]/50 grams); #47008 Roma - one skein
 |
| I'm not sure I've ever had a yarn stripe quite this well before... |
Notions: Tapestry needle
Gauge: 22 stitches = 4 inches in stockinette
So let's make a headband! Using your larger needle, cast on 28 stitches provisionally. Transfer cast on to your size 6 needles. Then, we'll begin our main pattern, which is basically just Aran Honeycomb from page 273 of Barbara G. Walker's A Treasury of Knitting Patterns and some garter edging, for which we'll need the following notation. Oh, and this pattern is an excellent choice if you're ready to cable without a cable needle as well.
back cross (bc): slip next two stitches to cn and hold in back; k2, k2 from cn
front cross (fc): slip next two stitches to cn and hold in front; k2, k2 from cn
And now that we've got that down, we'll continue like so:
Row 1 (wrong side): k2, p24, k2
Row 2: k2, (bc, fc) 3 times, k2
Row 3: k2, p24, k2
Row 4: knit
Row 5: k2, p24, k2
Row 6: k2, (fc, bc) 3 times, k2
Row 7: k2, p24, k2
Row 8: knit
Knit rows 1 - 8 until piece measures roughly 21" - 23" and you've just finished row 7 of the pattern (size tips: you're going to want it at least an inch shorter than your head size, and if you're guessing it's probably better to aim smaller rather than larger). Block flat, if you'd like, and then graft the two ends of the headband together using the Kitchener stitch. Finally, tuck in ends!
Oh what a lovely pattern, I love your patterns
ReplyDeleteThank you for sharing x
Glad to hear you like it! :)
DeleteThis is sooooo beautiful! It will suit my 'wild child' hair no end :) Thank you.
ReplyDeleteYay! So glad you like it! :) Let me know if you have any questions!
DeleteThank you so much for your wonderful patterns--You are soo
Deletetalented...How wide is this headband, as I like wider headbands... Thanks again JR
Hi there!
DeleteThis headband ended up about 3.5" wide. If you'd like to make it wider, I suggest casting on an additional 8 stitches. Then you can preserve the 2-stitch garter edging, and add one more pattern motif to the middle! :)
Thank for the Reply...Going to start it tomorrow--and when finished will sent along a picture.. By..for now JR
ReplyDeleteWonderful! Let me know if you have any other questions. :)
DeleteLove it. Will any variegated yarn work. Would love to make one.
ReplyDeleteHi Barbara!
DeleteYes, any variegated yarn will work, although of course not all of them are self-striping so the color pattern could be quite different. In general, however, I think cables are well-suited to variegation in all of its forms!!! :)
can I do this pattern adding different cast on
ReplyDeleteYes, then you'll just need to seam at the end! The provisional cast on just makes it seamless, but that's not necessary! :)
Delete